Showing posts with label stevia. Show all posts

Saturday, October 11, 2014

Ⓥ Healthy, Easy Vegan Chocolates! Ⓥ


I looooove chocolate! I mean, who Doesn't love chocolate? Well, my only problem with chocolate is the sugar content. Even the healthy dark chocolate that I love still contains cane sugar, and the few times I have found chocolate sweetened with something else (not stuff I can usually find readily locally) seems to disappear off the shelves so I can't restock. Not to mention that dark healthy chocolate tends to be on the more expensive side--which I don't mind as a treat, but when you love chocolate as much as I do you want it to be a little more affordable. ;) Enter recipe time! 
This recipe is amazing because it makes chocolate even healthier than anything you could buy in stores--because raw cacao or cocoa have tons of health benefits, which is super awesome if you love chocolate and don't want to feel guilty about eating it. The other part of this recipe that makes it super awesome is Coconut oil--which, again, has tons of health benefits! 
Lastly, this recipe is awesome because it is super easy to make, takes no time at all, and takes very few ingredients! You can also choose to sweeten with whatever sweetener of your choice--and my choice is the healthiest of all the sweeteners: stevia! Chocolate lovers rejoice! 

Some of the benefits of Cacao: 
  • High in antioxidants, which: Protect your cells from damaging molecules and free radicals--therefore reducing risk of heart disease, cancer, and other diseases. Anti-aging agents. And improve cardio-vascular health, enhance blood flow, healthy cholesterol levels, and in some cases, reducing blood pressure. 
  • Increases serotonin and other neurotransmitters, therefore enhancing mood and decreasing depression.
  • Rich in minerals like magnesium (deficiencies linked to heart disease, diabetes and joint problems), sulfur (a beauty mineral- helps detoxify your system and promotes healthy skin!), calcium, iron, copper, manganese and potassium.

Some benefits of Coconut Oil:
  • While it is composed mostly of saturated fats, much of the fatty acids come from lauric acid, which is a medium chain fatty acid that combats both viruses and bacteria.
  • Lauric acid also helps prevent heart problems like high cholesterol and blood pressure through it’s promotion of “good” cholesterol (HDL) and reduction of “bad” cholesterol (LDL). Also reduces injury to arteries!
  • Promotes weight loss by increasing metabolism- the fatty acids are super easily absorbed so can be burned instead of being stored. Also supports our organs, such as the pancreas allowing us to burn more energy.
  • Improves digestion and helps with digestive related problems. Also improves absorption of vitamins and minerals! 


Now, on to the recipe! ;)


vegan / gluten free/ sugar-free/ 

Healthy Vegan Chocolates

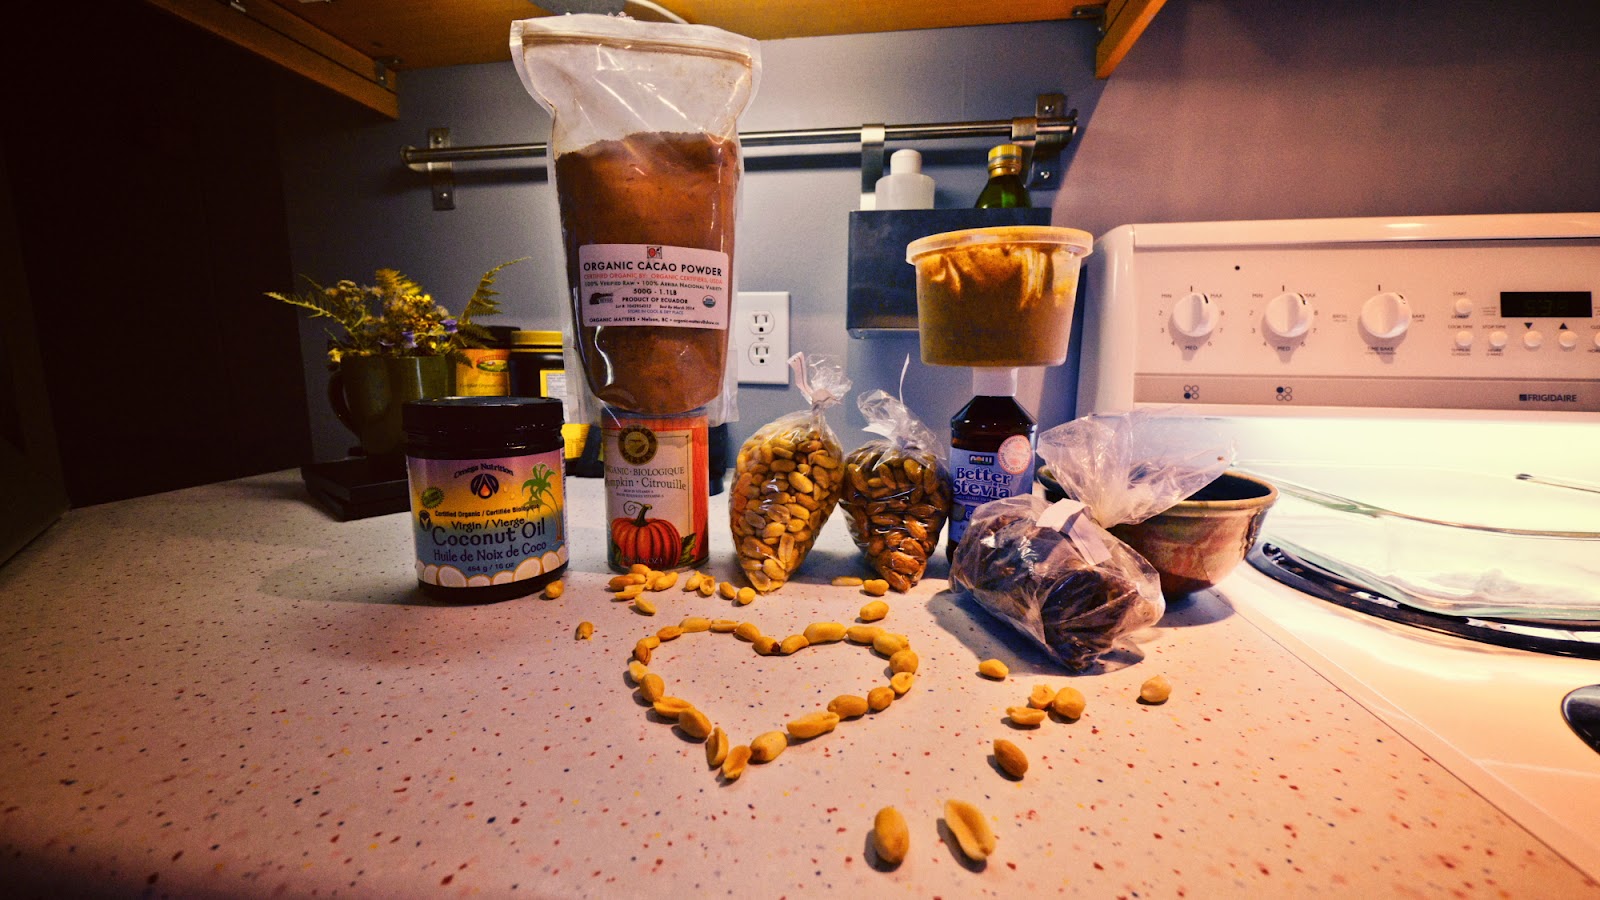
1/2 cup coconut oil, melted
6 heaping Tbs of Raw Cacao powder
Pinch of Salt 
Hazelnut Stevia to sweeten (or other sweetener of your choice)

In a double boiler, melt the coconut oil. Once melted, add the cacao powder, salt, and sweetener and stir until smooth and creamy and well mixed. Sweeten to your desired liking--I haven't measured and it really depends on your personal sweet-tooth, so add it slowly and then you can always add more! 
To keep it Raw, don't overheat or overcook, you just need enough heat to melt the coconut oil after all. 
Once you have the mixture to your desired sweetness, pour into chocolate moulds or miniature ice-cube trays--or whatever else you feel creative with. 
Freeze for at least 15 minutes, or until sets. 

Store in the fridge until ready to use.   
Photobucket

If you found this article to be helpful, please consider a small donation or visit the shop. Thank you for your love and support.

Sunday, June 9, 2013

Ⓥ Vegan Kitchen: Matcha Watermelon Smoothie Ⓥ


I'd been wanting to try this amazing sounding matcha smoothie recipe over at the LunchBoxBunch.com for a while. It called for watermelon which I never had on hand but now that it's the summer season they're becoming cheaper which is nice. I tried their version the first time around but didn't use a frozen banana and I do believe it makes a world of difference, so make sure your bananas are frozen when you make this recipe. I also altered the original recipe a little bit to my personal liking. And I've included optional ad-ins that I always use in my smoothies but are totally optional--I just love the health kick. ;) 
I must admit this is definitely going to be a summer favourite! I already loved matcha so much and this is probably one of my favourite matcha recipes now. Hope you enjoy as much as I do! 


Matcha Watermelon Smoothie

1 Banana, frozen
1/2 cup Watermelon cubes, frozen
1-2 tsp Matcha
1/2 Tbsp Chia seeds, soaked overnight or for at least 10 minutes
1 cup Hemp Milk (or other non-dairy milk)
touch of Stevia to sweeten (or other sweetener of your choice)

optional ad ins: 
Protein powder 
1 tbsp Hemp seeds
1 Tbsp Flax seeds
Handful of Kale or greens

Toss all the ingredients together in a high-speed blender and blend until smooth. Add less or more liquid to get your desired consistency.   
Makes 1 serving. Enjoy! 


Photobucket

If you found this article to be helpful, please consider a small donation or visit the shop. Thank you for your love and support.

Sunday, April 14, 2013

Ⓥ Vegan Kitchen: Chocolate Mousse with Rice Crispy Crust Pie Ⓥ


I think this may be one of my new favourite desserts. It's super simple and quick to make and is heavenly divine--not to mention it's also fun to lick the spoons after you're done putting everything together. ;)
Dairy free and vegan as always, gluten free, and soy free! 


Chocolate Mousse with Crispy Crust Pie

Peanut Butter Crispy Crust:
4 heaped Tbsp Peanut Butter (smooth is best. or sub Nut Butter of choice)
1 Tbsp Agave (or use Stevia like I do, about 1-2 tsp.)
1 tsp Vanilla extract
1 heaped Tbsp Coconut Oil
1 cup Crispy Brown Rice Cereal
1 cup Crispy Flake Cereal (I use Nature's Path Millet Flakes)

Chocolate Mousse Filling:
1 cup Dark Chocolate (72%)
Organic Coconut Cream (from 1 can of Chilled Coconut Milk)**


Directions:

Make the Rice Crispy Crust:
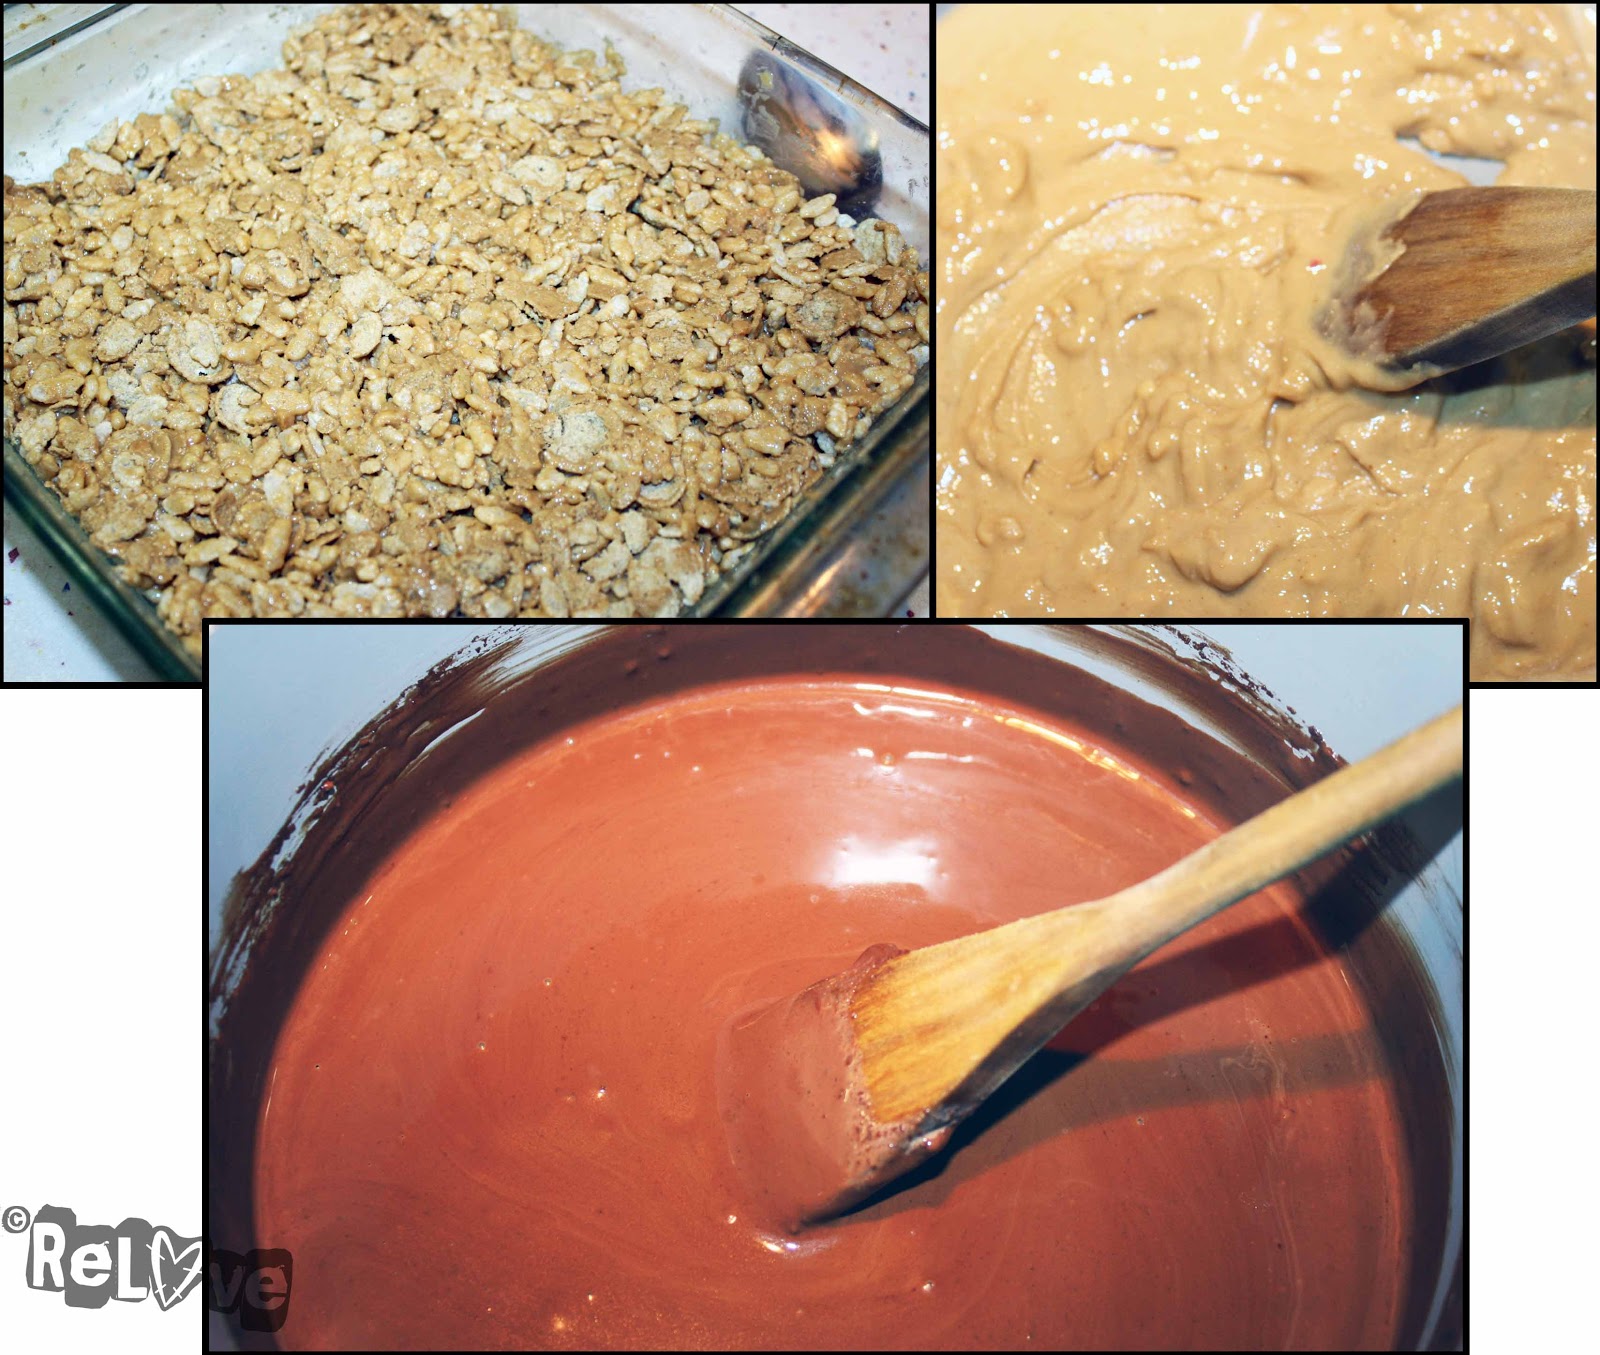
In small saucepan over medium heat, combine peanut butter, sweetener, vanilla, and coconut oil, stirring until melted together. Remove from heat and add cereal, stirring until completely coated. 
Press rice crispy mixture into a 9x13" pan, press flat, set aside to set.

Make the Chocolate Mousse:
**Without shaking, open the can of coconut milk and spoon out the thick portion at the top of the can (reserving remainder for smoothies). You must have refrigerated the can prior, overnight or longer so that the thick cream part separates from the liquid. 

Chop chocolate. In a small saucepan over low heat, whisk coconut cream until heated (this takes several minutes, but keep heat low). Add the chopped chocolate and continue to stir until chocolate is melted and mixture is smooth.

Pour over your rice crispy crust, smoothing it over top evenly. 
Place in fridge to set, this takes about an hour but if you're hungry then you can always eat it sooner, the chocolate will just not be as settled and thick. 

Enjoy! 
Makes 6-9 servings, depending how big you want to cut the pieces. ;) 


Photobucket


If you found this article to be helpful, please consider a small donation or visit the shop. Thank you for your love and support.

Sunday, March 31, 2013

Ⓥ Vegan Kitchen: Chocolate Mousse #2 Ⓥ


I love avocado pudding. It's amazing. It's bliss. Oh, and it's healthy! *gasp*
This is my second avocado pudding, this one is a little thicker with an almost cheesecake-like texture to it. It's simply divine! 
As always, vegan and gluten-free! Also sugar free and free of most common allergens. 

Avocado Pudding

6 pitted Dates (soaked at least 10 minutes)
1 Avocado
1/4 cup Cocoa or Cacao powder
1 Tbsp Vanilla
1/2 tsp Cinnamon
1/2 tsp Salt
2 tsp Stevia (I use Now brand)
2 heaped Tbsp Coconut Oil
1/2 cup water (soak the dates in it and use the water)


Pit your avocado and scoop out the "meat" (if this wasn't obvious ;p) 
Place all the ingredients in a Food Processor or Blender and blend until smooth.
Add more water or vegan milk to get desired consistency. You want it to be thick and creamy. Place in fridge for an hour or so where it will solidify a bit to give it a lovely texture. 
Makes 2 large or 4 small servings. Enjoy!


Photobucket

If you found this article to be helpful, please consider a small donation or visit the shop. Thank you for your love and support.

Sunday, January 13, 2013

Ⓥ Black Bean Brownies with Peanut Butter Pumpkin Swirl Ⓥ


I've shared a black bean brownie recipe before, but here's a new delicious spin on the simpler recipe that is now my favourite. These are lovely and perfectly rich, packed with flavour, and actually healthy, yayy! 
These are vegan (as always), gluten-free, refined-sugar free--and can even be completely sugar free by sweetening with just stevia, which has been my preference.  

Black Bean Brownies:
1 can Black Beans (drained and rinsed)
2 very ripe Bananas
1/4 cup Cocoa Powder
1/3 cup Pumpkin Puree
2 heaped Tbsp Coconut Oil
Stevia or 1/3 cup Agave Nectar (add more or less to your desired sweetness)
1 tsp Cinnamon
1 Tbsp Vanilla Extract
1/2 tsp Baking Powder
1/4 tsp Sea Salt
1/4 cup instant Oats (choose gluten free ones for gluten-intolerance)
1/4 cup vegan Chocolate Chips (optional)

Peanut Butter Pumpkin Swirl:
1/3 cup Peanut Butter, smooth
1/3 cup Pumpkin Puree
approx. 1/4 cup Almond Milk (or other non-dairy milk)
1 Tbsp Agave or Stevia to sweeten

Preheat oven to 350 F. 
First, make the Brownie part by combining all of your ingredients, except the oats and chocolate chips, in a food processor and blend until smooth. Add the oats and pulse another couple minutes to mix. Fold in the chocolate chips with a spoon or by pulsing on the food processor. 
Lightly grease an 8x8 baking dish. Evenly spread the batter into the dish. 
Now, using your food processor again, combine the peanut butter pumpkin swirl ingredients and blend until smooth, slowly adding the Almond Milk to get a smooth consistency (add more or less to reach that smooth consistency). 
Evenly dollop the mixture on top of the batter. Pull a knife back and forth lightly through the top of the batter to create your swirls.
Place in oven and bake for approx. 45-50 minutes, until you can poke it with a fork or toothpick and it comes out clean. 
Remove from oven and let set for at least 10 minutes. 
Gently cut your brownies, serve, and enjoy! 


[apologies for bad iPhone photos ;p]


Photobucket

If you found this article to be helpful, please consider a small donation or visit the shop. Thank you for your love and support.
Sunday, September 30, 2012

Ⓥ Vegan Kitchen: Peanut Butter Pumpkin "Cheesecake"! Ⓥ


I found this recipe on Pinterest, from the Damy Health, and had to replicate it and through my own little twist on it. My friend, Tam, who has been my awesome cooking partner lately, made this with me in my new kitchen--it was a fun and delicious evening! :)
I am a sucker for anything peanut butter and chocolate! This recipe also has pumpkin in it which adds some awesome health benefits and gives it a fluffy cheesecake-like texture. This recipe is also no bake, vegan, gluten free, sugar-free, and super easy to prepare! You could easily make this raw as well if you had your own pumpkin. 


Peanut Butter Pumpkin "Cheesecake"
Crust Ingredients:
1 Cup Raw Peanuts
1 Cup Raw Almonds
1 Cup Pitted Dates
4 Tbsp Cocoa
1/4 Cup Water

Peanut Butter Filling Ingredients:
1 Cup Pumpkin Puree
1/2 Cup Peanut Butter
1/3 Cup Pitted Dates, soaked at least 10 mintures--I like to soak them longer so they blend easier
1 Tbsp Stevia

Chocolate Topping Ingredients:
1 Cup Coconut Oil
1 Tbsp Stevia
1/2 Cup Cocoa

Just a note, I am used to stevia, I love the taste! For some it takes a while to get used to the flavour, but my hubby loved this recipe too and he's not overly fond of stevia. You could also half the amount of stevia and add a little sweetener of your choice, but we wanted to keep this sugar-free and uber healthy! ;)


Separately blend each layer listed above in a food processor. The crust should be dough-like, the peanut butter filling should be smooth, and the top should be liquidy.
If you so choose, grease an 8-inch spring form pie plate with a healthy oil. I tend to skip this step--half the time because I forget, the other half because I've never had any issues with my desserts coming out of their dishes. ;)
First, press down the crust into the bottom of the pie plate. Next, layer and smooth out the peanut butter filling. And finish by pouring your chocolate topping over the top. 
Chill for a few hours in the freezer until the top solidifies. 


Remove, cut into pieces and enjoy! 
I think we're going to play around with this recipe a bit as well so that the top isn't quite as hard. It tastes amazing but when you cut into it it kind of smushes everything else since the chocolate top is hard. ;p I'll update this with any changes we make the next time we make this wonderful recipe. ;)
Makes 1 8-inch cake. Try not to devour it all in one go. ;)

And for your entertainment; how silly we are when making this... 


Photobucket

If you found this article to be helpful, please consider a small donation or visit the shop. Thank you for your love and support.
Related Posts Plugin for WordPress, Blogger... Save $100 on Blendtec Factory Recertified Blenders + Free Shipping