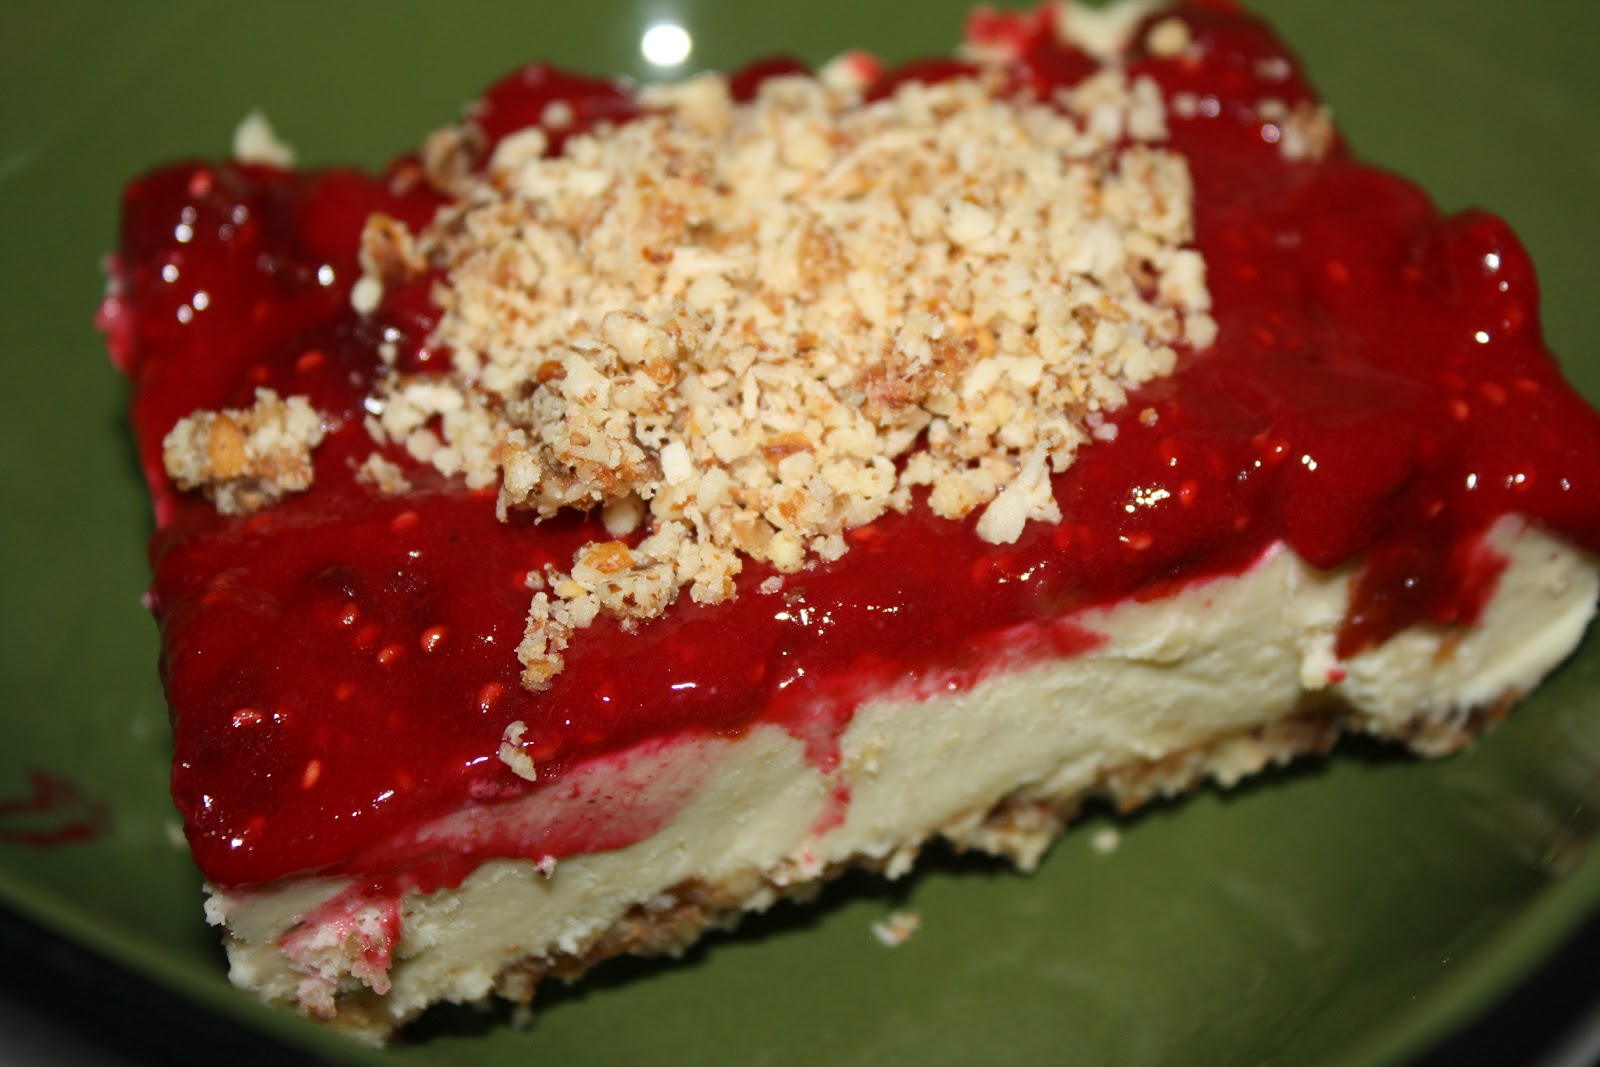
Showing posts with label cheesecake. Show all posts

Sunday, September 30, 2012

Ⓥ Vegan Kitchen: Peanut Butter Pumpkin "Cheesecake"! Ⓥ


I found this recipe on Pinterest, from the Damy Health, and had to replicate it and through my own little twist on it. My friend, Tam, who has been my awesome cooking partner lately, made this with me in my new kitchen--it was a fun and delicious evening! :)
I am a sucker for anything peanut butter and chocolate! This recipe also has pumpkin in it which adds some awesome health benefits and gives it a fluffy cheesecake-like texture. This recipe is also no bake, vegan, gluten free, sugar-free, and super easy to prepare! You could easily make this raw as well if you had your own pumpkin. 
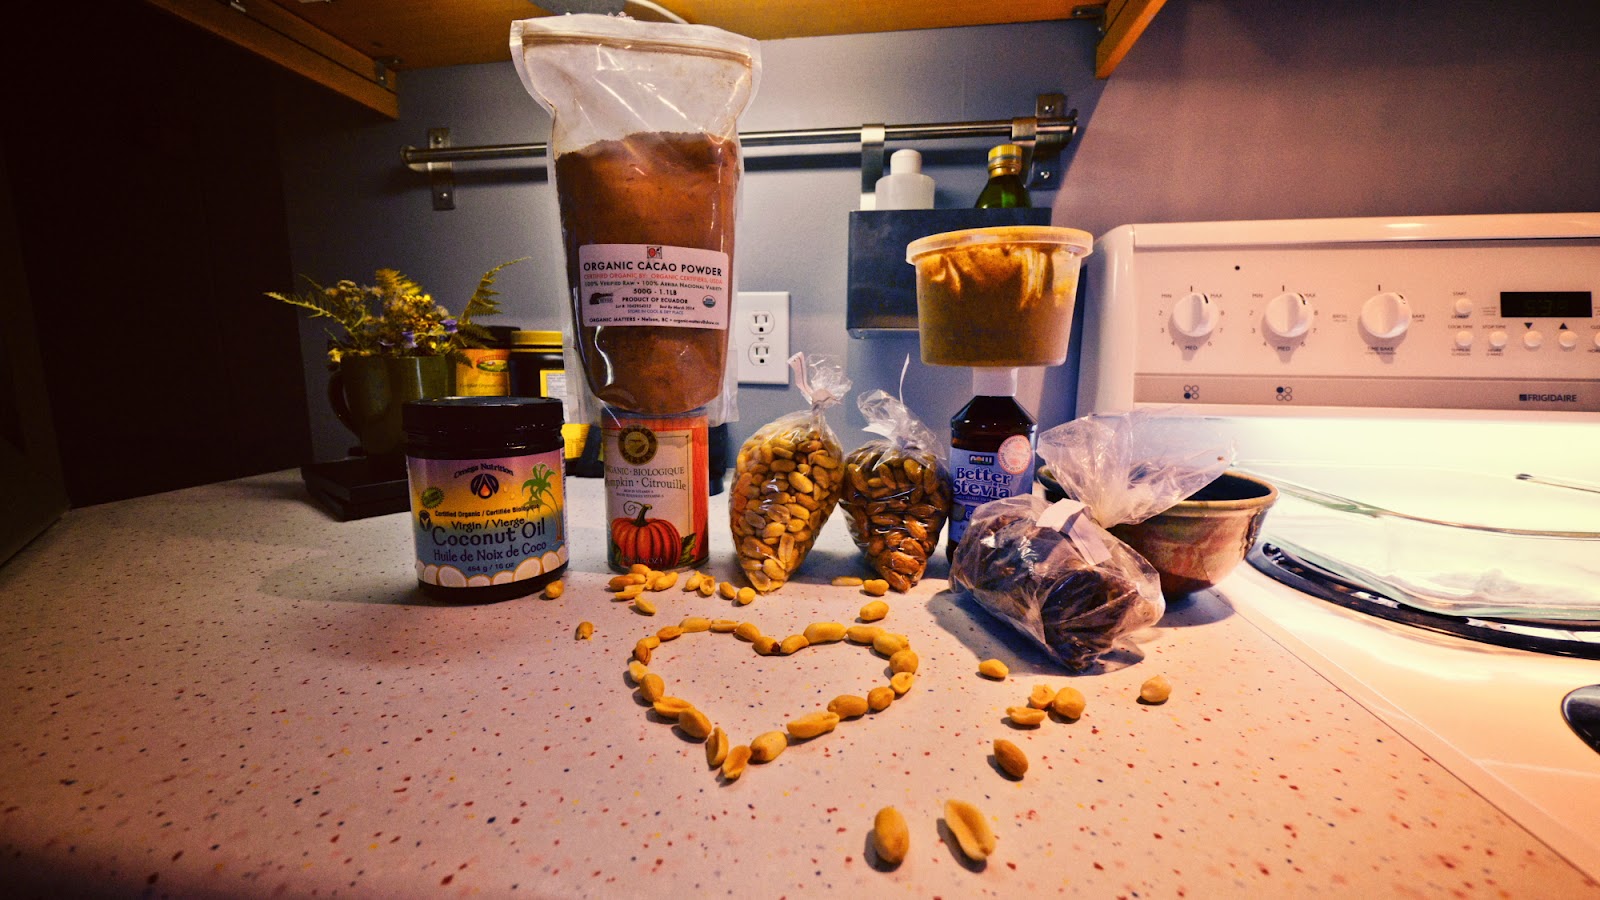

Peanut Butter Pumpkin "Cheesecake"
Crust Ingredients:
1 Cup Raw Peanuts
1 Cup Raw Almonds
1 Cup Pitted Dates
4 Tbsp Cocoa
1/4 Cup Water

Peanut Butter Filling Ingredients:
1 Cup Pumpkin Puree
1/2 Cup Peanut Butter
1/3 Cup Pitted Dates, soaked at least 10 mintures--I like to soak them longer so they blend easier
1 Tbsp Stevia

Chocolate Topping Ingredients:
1 Cup Coconut Oil
1 Tbsp Stevia
1/2 Cup Cocoa

Just a note, I am used to stevia, I love the taste! For some it takes a while to get used to the flavour, but my hubby loved this recipe too and he's not overly fond of stevia. You could also half the amount of stevia and add a little sweetener of your choice, but we wanted to keep this sugar-free and uber healthy! ;)


Separately blend each layer listed above in a food processor. The crust should be dough-like, the peanut butter filling should be smooth, and the top should be liquidy.
If you so choose, grease an 8-inch spring form pie plate with a healthy oil. I tend to skip this step--half the time because I forget, the other half because I've never had any issues with my desserts coming out of their dishes. ;)
First, press down the crust into the bottom of the pie plate. Next, layer and smooth out the peanut butter filling. And finish by pouring your chocolate topping over the top. 
Chill for a few hours in the freezer until the top solidifies. 


Remove, cut into pieces and enjoy! 
I think we're going to play around with this recipe a bit as well so that the top isn't quite as hard. It tastes amazing but when you cut into it it kind of smushes everything else since the chocolate top is hard. ;p I'll update this with any changes we make the next time we make this wonderful recipe. ;)
Makes 1 8-inch cake. Try not to devour it all in one go. ;)

And for your entertainment; how silly we are when making this... 


Photobucket

If you found this article to be helpful, please consider a small donation or visit the shop. Thank you for your love and support.

Sunday, September 23, 2012

Ⓥ Vegan Kitchen: Pumpkin PB Bliss Smoothie! Ⓥ


It's that lovely fall time of year when the leaves start to turn and pumpkin is all we can think about. Yum! It's in season, it's healthy, it's versatile, it's fabulous! 
So! A week ago my friend, Tam, and I made the most epic Peanut Butter "Cheesecake" ever! Don't worry, I'll be sharing that recipe soon as well. ;) There was pumpkin in it and it was sublime! But I had leftover pumpkin so I decided to experiment and sort of replicate the filling part of last night's dessert, but into a morning smoothie. I am so in love with this that I opened up a new can of pumpkin puree just so that I could remake it again the next day… and the next day… and yesterday… and today... to say I'm a little obsessed with this might be an understatement. ;) But it tastes like dessert and is healthy goodness to start your day! What's not to love?

This recipe is; vegan (as always), sugar-free, and gluten-free! 

Okay, without further ado, awesome Smoothie time! 


Pumpkin PB Bliss Smoothie

1/2 cup Pumpkin Puree (unsweetened, just pumpkin)
1- 1 1/2 Frozen Bananas
1 Tbsp Peanut Butter
1tsp Stevia
1 cup Coconut Milk Beverage
dash of Cinnamon 

Add all of your ingredients together in a blender or food processor and blend until smooth and creamy! Add less or more "milk" to get your desired consistency. 
I feel that for the texture the bananas being frozen is essential, so make sure you have some handy in the freezer--they're the best way to have in smoothies anyways. ;) You could easily add more pumpkin pie spice as well for more of a, well, pumpkin pie flavour, but I love it the way I make it. ;) 
Makes 1 serving. Enjoy! 


If you're using pumpkin from a can then make sure you store any leftovers in another container as opposed to the can. I get about 3 smoothies per can (I never measure the pumpkin, I just ballpark it ;)). And, just in case you've never frozen banana before, be sure to remove the peal and then store in a ziplock bag or container before putting int he freezer. ;)  


Photobucket

If you found this article to be helpful, please consider a small donation or visit the shop. Thank you for your love and support.

Monday, July 2, 2012

Ⓥ Vegan Kitchen: The Best Damn Raw CheeseCake! Ⓥ


I've mentioned before that I have a huge love for raw desserts. I mean, come on, what's not to love? Ridiculously delicious desserts that are actually Good for you?! I also definitely prefer raw desserts over any cooked ones I've ever tried before, they are rich and packed full of flavour that just sings in your mouth! Yum! 
Cheesecake has always been a soft spot for me, I have always loved it! Since going vegan I've tried a couple recipes but I discovered the best damn cheesecake of my life when I went to a raw cafe. I decided that I HAD to make one myself. 
This recipe is the closest thing to real cheesecake I've ever had--except better in every way possible! Not to mention guilt-free! Score!  


The Best Damn Raw CheeseCake

Crust:
1 1/2 cups Almonds or Macadamia nuts (or a combination of both)
1/2 tsp Salt
1/2 cup Pitted Dates
1/4 cup Shredded Coconut, unsweetened
Filling:
3 cups Cashews
just under 3/4 cup Lemon Juice (from about 4 lemons)*
3/4 cup Agave
3/4 cup Coconut Oil
1 tbsp Vanilla extract or 1 vanilla bean
1/4 cup Water, as needed

*If you're lazy (like I am sometimes) and just use bottled lemon juice then you'll want to go a little under 3/4 cup as it's more concentrated. It also won't be raw anymore, but it's still an delicious and healthy treat! ;)

Raspberry Sauce Topping:
1 cup Raspberries (or strawberries, or blueberries, or whatever other flavour you might want)
1/4 cup pitted dates


First, make the crust by processing the nuts and salt in a food processor into small pieces. Slowly add the dates and mix well. "Flour" the bottom of a 9-inch springform pan with the shredded coconut. Press the crust mixture evenly onto the bottom of the pan. Set aside. 
A note about Coconut Oil: coconut oil hardens, especially if stored in the fridge, so be sure to warm it up (not too hot/quickly or you'll compromise it's raw structure) in some warm water or keep it in a warm spot a few hours before you're going to make this recipe. Above room temperature it liquifies which will be easier to measure out. 
Okay, with that out of the way, let's make the filling! Blend the cashews, lemon juice, coconut oil, agave, and vanilla in your food processor or blender until smooth. Slowly add water and add just enough to blend the filling into a smooth cream. Pour evenly over your crust in the pan. 
Time to add the lovely topping! Be sure to soak the dates for about half an hour, and then blend the dates and raspberries in a food processor until smooth or slightly chunky--whichever you prefer. You can also add the topping before serving, either way works. And you can also make this cheesecake without a topping at all--but it's better with a topping! ;)


Place in the freezer until firm--which is usually overnight or about 8 hours. 

Before serving, take the cake out of the freezer and remove from the pan while frozen. Place the cake on a plate and defrost in the fridge for an hour before serving. 

Will keep in the fridge for up to a week, and in the freezer for over a week. How many servings it makes is up to you! This cheesecake is super rich and decadent so you can make this go a  long way if you want it to. ;) 


Last note: I did not have a springform pan while making this (though it would have been easier), I just used my glass square dish (pictured) and it actually turned out perfectly. It didn't come out of the pan when frozen, but it still served up nicely without falling apart. :) 

Now go enjoy this amazing recipe! 


Photobucket

If you found this article to be helpful, please consider a small donation or visit the shop. Thank you for your love and support.
Related Posts Plugin for WordPress, Blogger... Save $100 on Blendtec Factory Recertified Blenders + Free Shipping