Showing posts with label what's in my kitchen. Show all posts

Thursday, February 6, 2014

♥ Amore di Mona Chocolate ♥


Love is in the air this lovely February, and that means chocolate. Am I right? Well indulging your loved ones with chocolate is only a sweet thing when you're not going to turn them into a sugar-crash monster once the chocolate is all gone. That's no fun. Plus, who wants cruelty cow milk and a clash of barely legible ingredients that you certainly shouldn't be putting in your body. Well, we can't very well give up chocolate, because life without chocolate is just not living. Fear not! Enter another amazing raw chocolate company: Amore di Mona

Amore di Mona are a new line of allergen-free, vegan, low-glycemic chocolates made with Belgian cocoa, French cocoa butter, and raw organic agave nectar. The thing I love about all these amazing conscious companies is that they tackle the issue of health when it comes to delicious treats and really add their own unique touch to their products. With Amore di Mona, they created an absolutely blissful, melt-in-your-mouth smooth succulent chocolate, and they took at a step further with their line of  "Caramela" bars with delicious caramel wrapped in dark decadent raw chocolate in a few lovely flavours.
These have become at the top of my list of favourite all-time chocolates. Every flavour was bursting with such wonderful flavours. My personal favourite was the cherry caremala bar--simply divine!
Not only are all of their chocolates gluten-free, nut-free, soy-free, non-GMO, and kosher, their commitment to health and excellence is astounding! Everything is created with high quality, natural, preservative-free, non-GMO, kosher ingredients. The cocoa butter is imported from Belgium and Holland, cocoa solids from Belgium. Madhava provides the sugar-free alternative of raw, organic, Fair Trade agave nectar. Any fruits used are fresh or sulfite free, sun dried organic. And the gluten free grains used are milled whole. 
How amazing is that?!

Lastly, Amore di Mona even has lovely Valentine's Gift Boxes, so you can still take advantage and treat your loved ones with truly lovely and sweet chocolate!

Even  better, indulge and treat yourself with a treat that won't make you feel guilty. Chocolate was meant to be enjoyed with all the wonderful health benefits in tact, so enjoy!


Find Amore di Mona:

Photobucket

If you found this article to be helpful, please consider a small donation or visit the shop. Thank you for your love and support.

Wednesday, October 9, 2013

♥ Chocholistic: Raw Healthy Chocolate! ♥


My new favourite goodies are the kind that make you feel completely guilt-free, and even good about eating them! This is where raw chocolate comes in to save the day, and, in particular, today I am sharing with you: Chocholistic

"What makes Chocholistic special?
It’s the only chocolate you can eat everyday that will improve your health while you eat it!"

Chocholistic puts health on the table without compromising great taste. Taking it even further, these chocolates are actually Good For You! Who can complain about that? While the lovely raw creamy cacao goodness appeals to the chocolate-lovers senses, the bars are also packed with a variety of superfoods. These pack quite the tasteful punch that will have you devouring a bar within a matter of minutes, maybe even seconds… although, you'll probably take longer for all the indulging and "mmm"ing you'll be savouring. Good thing they're healthy for you, right?


What else is fantastic about Chocholistic? Well! They are Vegan (vegans rejoice!), free of common Allergens (free of Nuts, Soy, Corn, Wheat, Gluten, Dairy, And all animal products!), Raw (score!), and (drum roll please) Sugar Free. 
It seems so hard to actually find chocolate that is not sweetened with terribly bad for you sugar cane or any other number of blood-spiking, mood-wrecking, sugary devils. This is something I know, because I read the labels every single time as it is next to impossible to find lovely chocolate that won't leave you feeling depressed after eating it. And, let's face it, chocolate is just too good to give up. This is why I am even more excited about Chocholistic; finally a company that cares about the ingredients they put into their lovely treats. Seriously, what's not to love?  


So, what else makes Chocholistic so darn good? Well, Chocholistic is Certified Organic. Well, aside from being free of nasty sugars, Chocholistic is also free of preservatives, fillers, dairy, and does not diminish the natural health benefits of cocoa in the processing by keeping it Raw. Conventional chocolate, and most chocolates in general, are depleted of most of their nutrients, which is a shame, because cacao (or cocoa) is actually a superfood and is super duper good for you! So, now you Can have chocolate every single day, and, not only will you not feel guilty, but you will actually feel great because you're indulging on something that will actually improve your health. Wins all around!
Also, for those with candida sensitivities (which everyone should be more aware of), Chocholistic can still be enjoyed! Hoorah! Who knew you could eat chocolate and cleanse at the same time? It's like a delicious little miracle. 

WHY IS CHOCHOLISTIC SO POWERFUL?
  • Sugar-Free (no dates, honey, agave, artificial sweeteners)
  • 10 Superfoods
  • Organic
  • Raw
  • Nut Free
  • Soy Free
  • Corn Free
  • Wheat and Gluten Free
  • Dairy Free
  • Non-GMO
  • Kosher
  • Fair Trade

EAT YOUR CHOCOLATE THE RIGHT WAY:
  • Powerful immune support
  • Anti-aging properties
  • Happy “medicine”
  • Weight loss support
  • Non-stimulant energy
  • Longevity food
  • Deep, dark, delicious! 

WHY RAW?
Eating a food raw means you are getting all of the nutrients from that food. When you cook your food, you lose between 30 and 70% of the nutrients. Our chocolate has amazing nutrients and antioxidants because we don’t heat it past 115 degrees.
Raw foods have their own enzymes, which are incredibly important to digestion and all bodily functions. This means that the superfoods in Chocholistic will go to work in your body without pulling from your own resources.
Eating raw food can also help:
  • increase energy
  • better digestion
  • weight loss
  • less risk of disease
  • better sense of well-being
  • healthy, young looking skin
  • better sleep
  • better mood


And as if all the health benefits aren't amazing enough, or enough to convince you to try Chocholistic's bars, well, they taste absolutely amazing! Creamy delicious goodness that melts in your mouth, with tantalizing flavours like Goji Superfruit (my personal favourite), Herbal Mint, Cacao Coconut, Mocha Chip, and even their "Superslim" Bar.
So, go ahead and indulge every day. Chocolate was meant to be enjoyed with all the wonderful health benefits in tact, so indulge, enjoy, and treat yourself with Chocholistic! 

Find Chocholistic:


Photobucket

If you found this article to be helpful, please consider a small donation or visit the shop. Thank you for your love and support.

Sunday, December 11, 2011

Ⓥ Vegan Kitchen: Very Blueberry Smoothie Ⓥ


Just a quick on-the-go smoothie recipe that is so simple and delicious, plus a dose of protein in there too. :) Or if you have a soy allergy you could easily omit it. I also tend to add Matcha to my smoothies for that extra energy and antioxidant boost. 


Very Blueberry Smoothie

1 cup frozen Blueberries
1 Banana
3/4 cup Almond Milk
1/4 block of Tofu
Stevia to sweeten


Throw all the ingredients together in a food processor or high-speed blender and blend until well smooth and creamy.


Makes 1 Smoothie.

Enjoy! :) 

Photobucket

If you found this article to be helpful, please consider a small donation or visit the shop. Thank you for your love and support.

Ⓥ Vegan Kitchen: Green Mango Almond Smoothie Ⓥ


I think this is my new favourite smoothie. It is at least being added to my top favourites. I like to make my smoothies a little thicker and use them as "nogurt" so you can adapt this recipe to your liking. 


Green Mango Almond Smoothie

1 cup frozen Mangos
7 pitted Dates
1/8 cup Raw Almonds
1 Tbsp Almond Butter
2-3 Lettuce Leafs
2 Tbsp Hemp Protein Powder
1/2 tsp Vanilla Extract
7 drops Stevia
3/4 cup Almond Milk


If you have the time then I recommend soaking the almonds and dates for about 10 minutes as it helps to soften them up and blend a little smoother and easier. Also slightly defrosting the Mangos is easier on the blender as well. 


Throw all the ingredients together in a food processor or high-speed blender and blend until well blended and creamy. (Beware, it can get rocky in there! No, not literally rocks in there but it can be a bit intense on your food processor or blender if you're not ready for it, nothing unusual for frozen fruit or dates if you've ever processed them before.)
Add less or more almond milk to get your desired consistency. 
This smoothie won't be completely smooth, it's got a wonderful texture with the nuts and dates and the taste is simply sublime! And no, you won't notice the taste of lettuce in there and it's a great way to add some greens to your day!


This makes awesome "Nogurt" as well, just make it a little thicker! My favourite is to have a bowl of fresh fruit and raw granola and top with this delicious recipe! 

Makes 1 large Smoothie or 2-3 servings of Nogurt. 

Enjoy! :) 


Photobucket

If you found this article to be helpful, please consider a small donation or visit the shop. Thank you for your love and support.

Sunday, November 27, 2011

Ⓥ Vegan Kitchen: Black Bean Dip! Ⓥ


This recipe is a variation of one out of "La Dolce Vegan" Cookbook--which if you don't own already you Should! 
This is super easy to make, takes about 15 minutes, is high in protein and iron and packed-full of fantastic flavour! 

Black Bean Dip

1 19oz can Black Beans, drained and rinsed. 
1 cup Vegetable Stock
1 tsp Garlic Powder (or two minced Garlic Cloves) 
1 1/2 Tbsp Chili Powder
2 tsp ground Mustard
1 tsp ground Cumin
1/4 tsp Salt 


Add all the ingredients in a small or medium pot and simmer, uncovered, over medium-high heat for 15 minutes. Mash with a potato masher. 
There! I said it was easy! If you want it a bit thinner then add a little more water. 

It's great for dipping, in wraps or burritos, or my new favourite; as nachos! 
For the Nachos, I used these Pinto Bean chips, topped them with the black bean mixture, topped with Daiya cheddar cheese and melted it in the over for a few minutes. So delicious!


Photobucket

If you found this article to be helpful, please consider a small donation or visit the shop. Thank you for your love and support.

Sunday, November 20, 2011

Ⓥ Vegan Kitchen: Vegan Chili! Ⓥ


How can anyone not love chili? This vegan recipe is an awesome alternative to that gross meat stuff you used to eat. High in protein, fibre, iron, and other vitamins! 

This recipe make A LOT! But it's perfect to make and freeze for a later time. And did I mention it's super easy to make? 

Vegan Chili

19oz can of Adzuki Beans
14oz can of Aduki Beans
14oz can of Pinto Beans
14oz can of Garbanzo Beans (chickpeas) (optional)
14oz can of Crushed Tomatoes
6 oz can Tomato Paste
2 cups Vegetable Stock
1 cup of Brown Rice
2-4 Tbsp Chili Powder (depending how spicy you like it, add more or less)
2 tsp Cumin
1 tsp Black Pepper
1 tsp Curry Powder
3 Medium Carrots, chopped
optional add ins: corn, mushrooms, tofu… or anything else you feel like.


In a huge pot, cook the Brown Rice as usual. Brown rice usually takes about 50 minutes to cook so you can let it sit for 20-30 minutes before you start adding the rest of the ingredients. 

Sauté the carrots and chickpeas for a few minutes until they're slightly browned (if you're feeling lazy just add them straight in to the next step). Add them into the Brown Rice along with all of the rest of the ingredients. Stir well and let cook on medium heat for approximately 20 minutes or until rice is fully cooked, stirring occasionally to avoid sticking. Add less or more liquid depending on how thick you want it. Taste test before adding too much chili powder, the spiciness all depends on your personal preference. 

If you're in a hurry you can make this with quinoa instead of rice as well! 
Super easy to make and great comfort food that's also healthy for you! Win win!  


If For an extra treat, or if you're in a particularly comfort food kind of mood, top this chili over french fries, top with daiya cheese, and eat with homemade garlic bread! Yum! 


Photobucket

If you found this article to be helpful, please consider a small donation or visit the shop. Thank you for your love and support.

Sunday, October 23, 2011

Ⓥ Vegan Kitchen: Pumpkin Pudding with Chocolate! Ⓥ


Yes, it's still time for Pumpkins! This delicious dessert is super good and super easy! 

Pumpkin Pudding:

1 lbs Silken or Medium Tofu
1/2 tsp Salt
2/3 cup Agave
1 cup Canned Pumpkin, unsweetened
1/4 tsp Nutmeg
1/4 tsp Cinnamon
1/4 tsp Ginger

Add all of the ingredients to a blender or food processor and blend until smooth and creamy. The mixture may be watery if using silken tofu, but placing it in the fridge or freezer will firm it up a bit.
Set aside. 

Chocolate Pudding Topping:
2 very heaped Tbsp Chocolate Peanut Butter (or you can use regular Peanut Butter, tsp of Cocoa, and sweeten to taste)
1 Tbsp Vegan Cream Cheese (I use Tofutti)
1/2 cup Almond Milk (or other non-dairy milk)

In a small saucepan, heat up the Peanut Butter and the Cream Cheese and add Milk, slowly, until you receive your desired consistency. Should be smooth and creamy. You may need less or more milk--I admittedly didn't measure. ;)


Gather up your little cups, dishes, or whatever you will be serving these in. Even distribute the Pumpkin Pudding into each dish, and then evenly top with the Chocolate mixture. Place in fridge or serve immediately. 


You could easily just have the Pumpkin Pudding as well without the Chocolate Topping. Or even top it with some vegan ice cream. The choice is yours! 


Makes approximately 3 servings. 


Enjoy!!


Photobucket

If you found this article to be helpful, please consider a small donation or visit the shop. Thank you for your love and support.

Ⓥ Vegan Kitchen: Cashew Cheez Sauce! Ⓥ


This is easily THE BEST "cheese" sauce in existence! My excitement for this sauce I simply cannot put into words! 

Out of all the vegan cheese sauces I've ever made this is by far the most amazing one! Super creamy, super delicious, and who knew, without cheese at all! 

This recipe has been adapted from the "Mac & Shews" recipe over at Post Punk Kitchen.

Cashew Cheez Sauce:

1 1/2 cup Cashews, soaked overnight or for at least 6 hours.
4 cups Vegetable Broth, divided
4 Tbsp Olive Oil, divided
1/3 cup Rice Flour (or any other flour)
1/2 tsp Turmeric
dashes of black pepper
1 heaped tsp of Nutritional Yeast (optional)
1/2 tsp Salt
1 Tbsp Lemon Juice (optional)

If you are making this with pasta or anything else then go ahead and get that pasta boiling and cook as instructed. While that's cooking…

Place soaked cashews and 2 cups of broth in a food processor and blend until smooth, scraping the sides with a spatula occasionally to get everything. Takes approx. 5 minutes. 
Preheat a large pan over medium heat. Add 3 Tbsps of oil along with the flour, stir together. It should become a gooey clump. Add a little more oil if necessary. Toast for approx. 15 minutes in the pan until it smells toasty and turns a medium brown colour. Stir practically the entire time so it cooks evenly.


Stream in remaining 2 cups of broth, whisking constantly so it doesn't clump--the trick is to add the broth slowly, if you do it too quickly it will clump. Whisk until it's thick and smooth. 
Stream in cashew mixture, once again, whisking the entire time until well blended. Add turmeric, pepper, salt, nutritional yeast, and lemon juice. Heat through and stir occasionally, allowing to thicken. 

At this point you can either toss the sauce in with the pasta, or add in cauliflower, broccoli, potatoes, chickpeas, or whatever else your heart may desire. And serve! 

Or... you can bake it in the oven, so follow these directions...  

Preheat oven to 350  and lightly grease a large casserole dish. 
Transfer pasta and sauce into the casserole dish, cover with tinfoil, and bake for 20 minutes. Remove tinfoil and bake 5 more minutes. Serve hot! 


The first time making this I did pasta and cauliflower in the oven. It was amazing! However, especially if you have leftovers and have to reheat the next day, it gets a bit drier and less creamy. 
The second time making this I didn't put it in the oven. I also didn't have much for veggies (and I'm one of those nuts who just doesn't feel like a meal is complete without some sort of veggie) so I added a couple sweet potatoes and a can of chickpeas along with spaghetti pasta. It was soooo intensely amazing. My husband even said it was the best mac n cheese ever! Between the two I way prefer it not being in the oven, it keeps that lovely creaminess and intense flavour that way. :)

Really you can add whatever you'd like into this awesome sauce, or serve this sauce over anything. 

Hope you enjoy this as much as I do! I served this at out Thanksgiving potluck as well and everyone loved it!  


Photobucket

If you found this article to be helpful, please consider a small donation or visit the shop. Thank you for your love and support.

Thursday, October 13, 2011

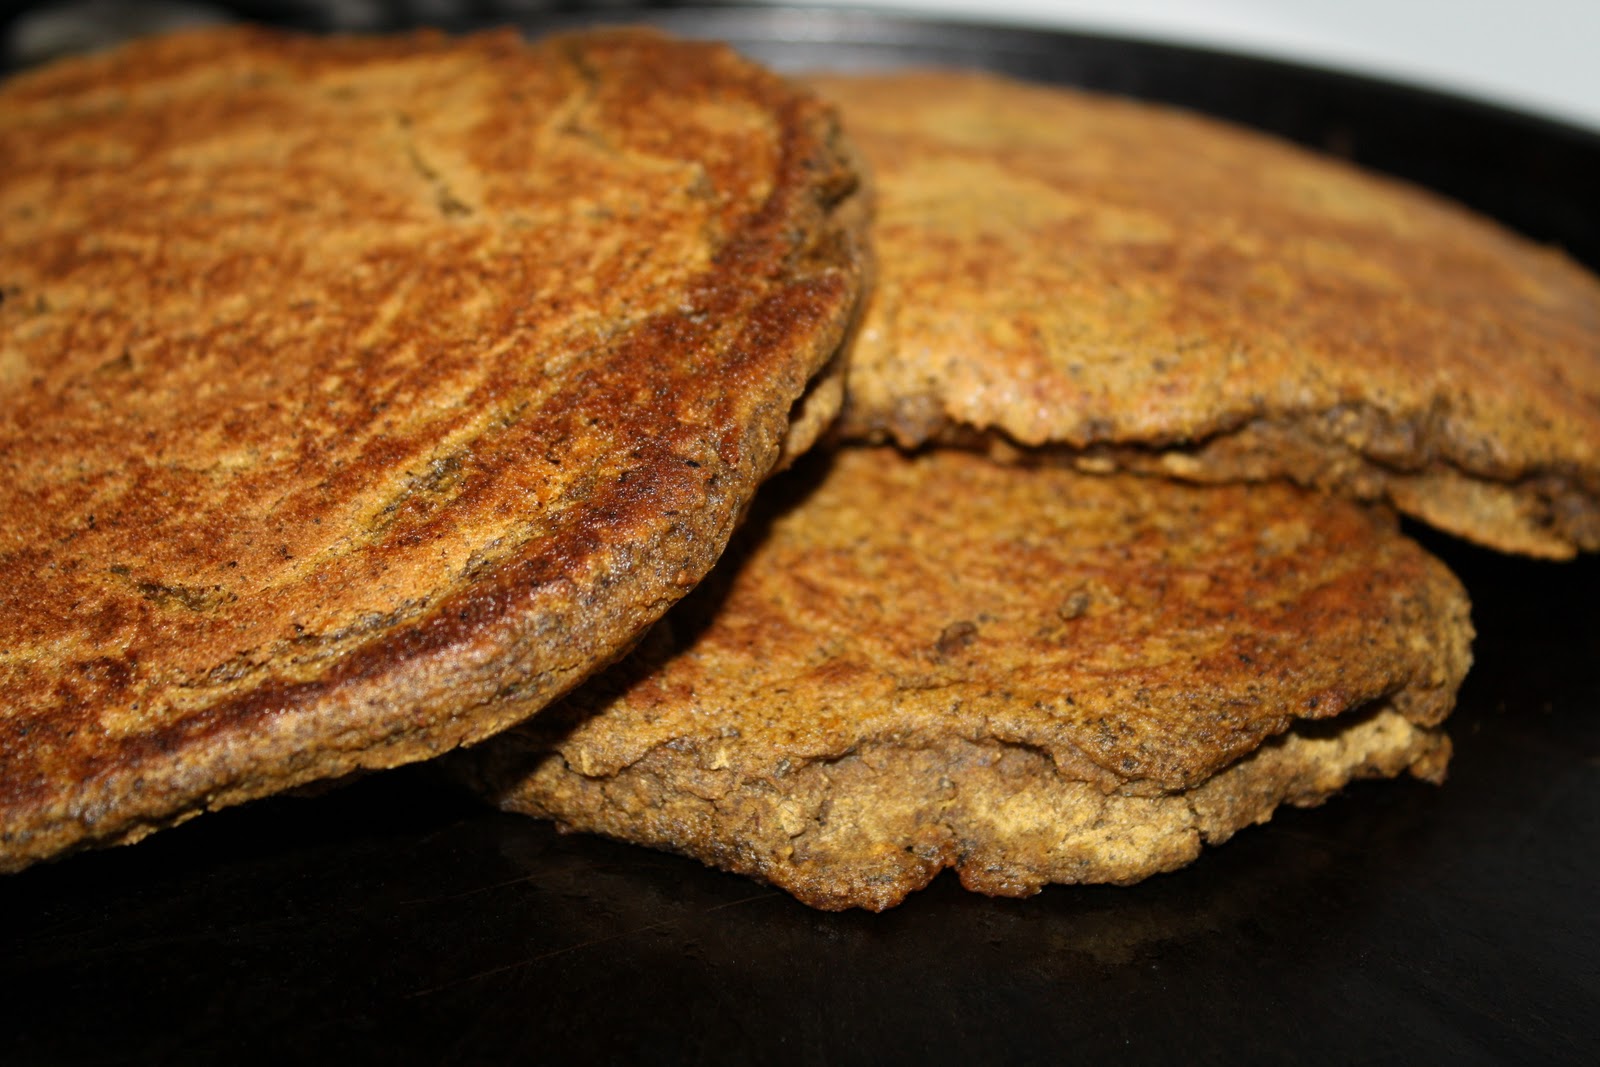
Ⓥ Vegan Kitchen: Pumpkin Pie Pancakes! Ⓥ


These lovely pancakes are not only vegan but they are also gluten-free. Now, mind you, I am still experimenting with the recipe, so if you make these and change up the recipe and found them delicious, please share. ;) I'd love to hear your suggestions and alterations!

The first time I made these I think the powerful flavor of the buckwheat took over the pumpkin pie taste, adjusting some ingredients will help change it up. These were still however super delicious, had a wonderful thick texture and held together beautifully! Plus they are wonderfully healthy. 

Pumpkin Pie Pancakes:

1/3 cup Brown Rice Flour
1/3 cup Buckwheat Flour
1/4 cup Tapioca Flour
2 tsp Baking Powder
3/4 cup Pumpkin Puree 
3/4 cup Almond Milk
1 1/2 tsp Cinnamon
heaped 1/2 tsp Nutmeg
1/2 tsp ground Ginger
1/4 tsp Salt
1/2 tsp Vanilla
1 Tbsp Agave (I used stevia instead with a touch of agave)


Mix dry ingredients together in a medium bowl, and then add wet ingredients and mix well. Make sure the pumpkin is well distributed and the batter is nice and thick. 
Drop 1/4 of the batter into a heated frying pan with a bit of vegan margarine (I use Earth Balance or a bit of olive oil) and fry until it browns and looks puffier--on medium heat. 
Flip and cook other side for another one to two minutes. You can poke it with a fork to make sure the batter is cooked on the inside. 
Repeat with remaining batter.
Top with vegan ice cream, whip cream, or whatever else your heart desires! Enjoy!
Makes 4 medium pancakes (Two Servings). 


Photobucket

If you found this article to be helpful, please consider a small donation or visit the shop. Thank you for your love and support.

Sunday, October 9, 2011

Ⓥ Vegan Kitchen: Pumpkin Pie Oatmeal! Ⓥ


A super easy and fun festive breakfast idea! A sneaky but healthy way to get away with pumpkin pie for breakfast too! Pumpkins are super good for you too; high in protein, vitamin A, vitamin K, iron, fiber, vitamin C and potassium!

I grabbed this recipe from "The Family Kitchen" blog and modified it slightly from here: http://blogs.babble.com/family-kitchen/2011/10/03/pumpkin-pie-oatmeal-breakfast/

Pumpkin Pie Oatmeal:

1/2 cup rolled Oats
1/3 cup Almond Milk
1/3 cup Water
pinch of Salt
1 Tablespoon Agave Nectar (or Maple Syrup or other sweetener)
1/8 tsp Cinnamon
1/8 tsp Nutmeg
1/8 tsp Ginger
1/4 cup Pumpkin

Add oats, water, soy milk, agave, and salt in a small pan over medium heat. In a small cup, mix together the pumpkin and spices. Swirl this mixture into the oats and heat for a couple minutes until the oats are cooked and soft.  Add more Almond Milk if you'd like it thinner and add more sweetener if you'd like it sweeter. Add any other toppings you may want, sprinkle with Cinnamon and serve warm! 


For an extra treat add soy creamer splash and swirl of coconut milk whip on top! I didn't have these handy, but next time I will for sure! I mean look at how much more delicious it looks with the whip on top!! 

Happy Thanksgiving Canada and Happy Fall everyone else! xo


Photobucket

If you found this article to be helpful, please consider a small donation or visit the shop. Thank you for your love and support.
Related Posts Plugin for WordPress, Blogger... Save $100 on Blendtec Factory Recertified Blenders + Free Shipping